During my many years as a reef keeper I never used a refugium on one of my tanks, never. When I first entered the hobby I used Granular Ferric Oxide (GFO) to keep phosphates in check and a skimmer and water changes to manage nitrates. GFO is easy to use but there are some drawbacks. One problem is that it not only binds phosphates but valuable trace elements as well. GFO can also shock corals and cause color loss if used too aggressively.
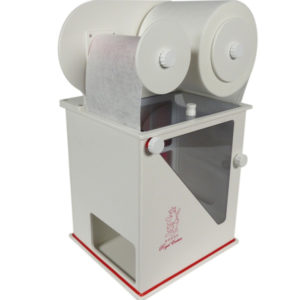
I decided natural means was a better option for nutrient control so I began using a Pax Bellum ARID Algae Reactor. These reactors export nutrients by promoting the growth of chaetomorpha (chaeto) inside a chamber lit by LEDs. The ARID is extremely efficient and requires some knowledge of water chemistry to optimize chaeto growth. Nitrate dosing is required and with some tanks it may be necessary to dose phosphates.
Another option to export nutrients via natural means is an algae scrubber, a water filtering device which uses light to grow algae. A refugium is a third choice and many folks have had success using either a ‘fuge’ or an algae scrubber. Personally, I have not tried either one so I felt it was time to experiment. I opted for a DIY refugium since it would be cheaper and easier to setup.
DIY Refugium Components
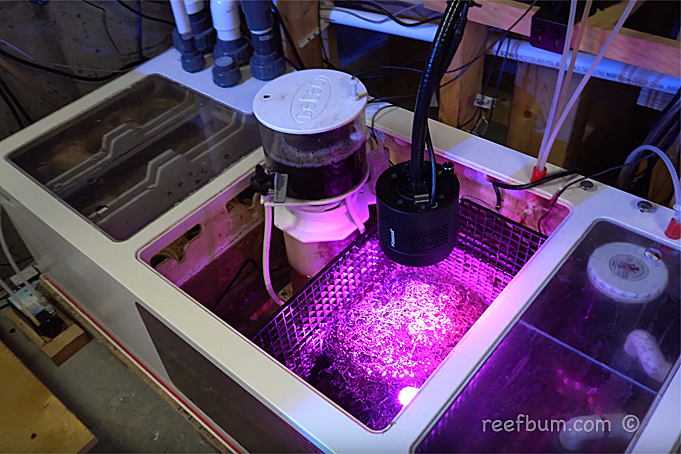
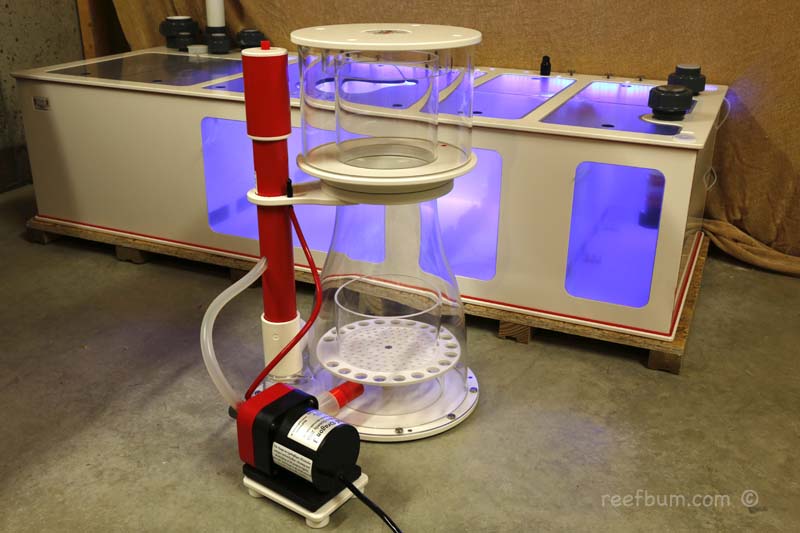
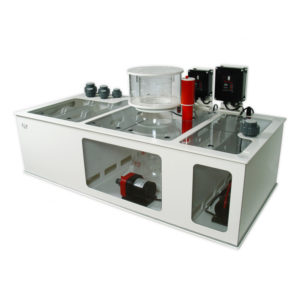
I have a custom Royal Exclusiv sump and fortunately there was room right after my skimmer to add a refugium. I wanted circulation going through the refugium so I used four pieces of black egg crate and fastened them together with some zip ties. My DIY refugium measured 18″ L x 10″ W x 12″ T and I decided to light it with a Kessil H380 Algae Grow Light. The Kessil is on for 9 hours (12m – 9a) and set to the “bloom” setting. A small powerhead inside the sump pushes water through the egg crate.
Not only is this really easy to make, but it is also very simply to clean and maintain. Each week I remove the chaeto and rinse it in some tank water to wash off the biofilm. I also pull the egg crate out and clean it with a scrub brush in my slop sink to remove any nuisance algae. Additionally, I siphon up all of the detritus that collects underneath the chaeto at the bottom of the refugium. I would say it takes five minutes, tops, to perform all of these tasks.
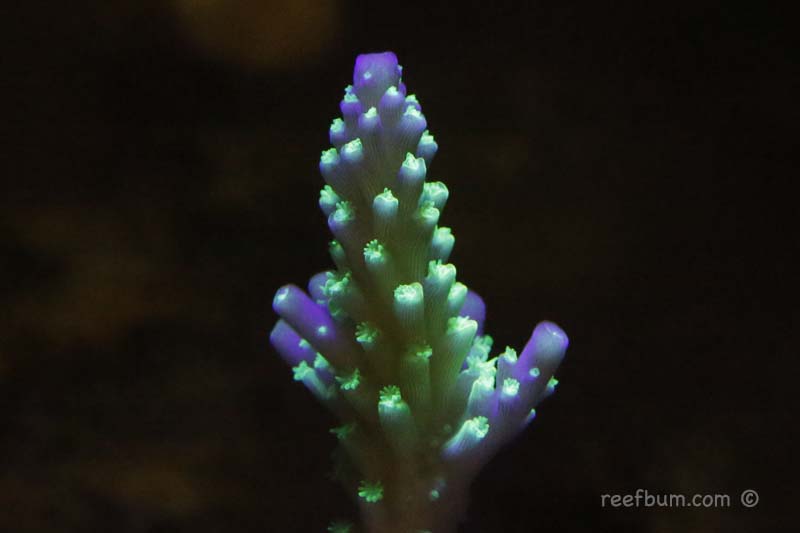
So how did the DIY refugium work? Well, my chaeto grows and I harvest some every week. My nitrates are around 5 ppm and my phosphates are in the .10 to .13 ppm range, a bit high but the corals look great so I am not too worried. I do dose 4-5 mls of phosphates per day so perhaps I will reduce the dosage. Overall, I am very pleased with my DIY refugium experiment. Easy to setup, functional and a breeze to maintain. Now that\’s a nice trifecta!
Additional Resources
If you would like some help with a new tank build, including help designing a custom aquarium, or help re-configuring your current setup then you can visit this page for more information. And if you are looking to add some equipment, I do sell GHL, Pax Bellum, Reef Octopus Calcium and Kalk Reactors and Royal Exclusiv products, including Dreamboxes, which is the equipment I use and recommend. I also sell Reef Brite metal halide and LED fixtures as well as Maxspect & IceCap Gyres.
As for additional insights and information, please explore my many other reef tank and SPS related articles as well as my YouTube channel. For an even deeper dive into reef tank care you can check out my Reef Keeping Master Class. This online course is an immersive and one of a kind educational tool designed to help reef aquarium hobbyists build and maintain a beautiful SPS reef tank. The course is a series of video presentations with some supplemental video from my YouTube channel. There are also quizzes to help students retain and understand the information presented in the course.
Need some frags…..I can help with that as well 🙂 Please visit my SPS Frag store to see what is available.

