This is Part #4 in a series of blog posts about my 225 gallon peninsula tank build.
In regards to aquarium stands, my preference in terms of the look is wood. Two main choices exist with this material. You can go with 100% wood or you can have a wooden skin over a metal frame made of aluminum or steel.
In the past my stands have been 100% wood and they were pricey since they were custom, furniture quality stands. However, my perception is that it would be even costlier to go with a metal stand and have it skinned with wood. Perhaps I am wrong but I did look briefly into a modular aluminum stand and it was not cheap. Nonetheless, I went with another custom wooden stand. For my 187 gallon tank I have a wooden stand painted white and the plan was to copy that look with this stand. Well, sort of.
A Fancier Look
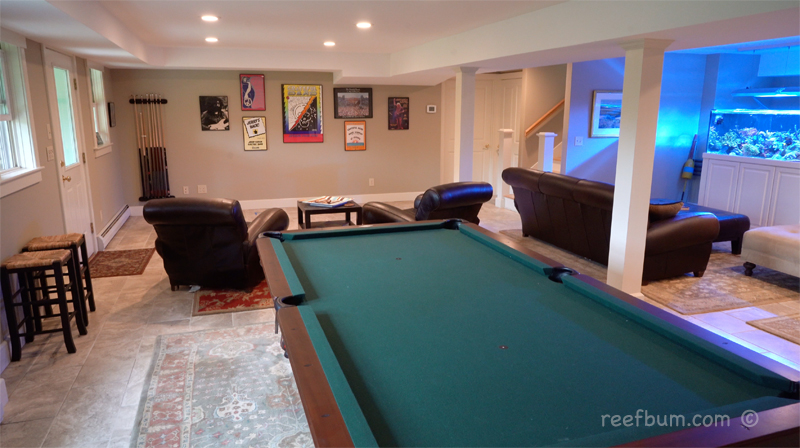
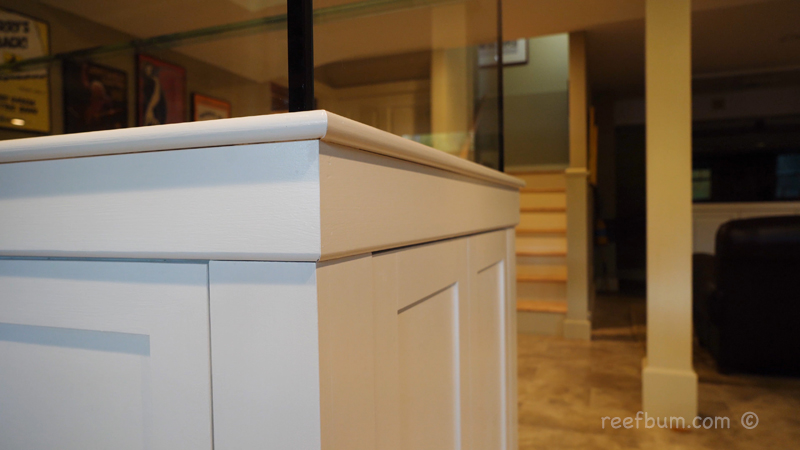
The stand for the 187 gallon tank has some fluted trim, a bit fancy, but I wanted a more basic look for the new stand. The trim and doors in the basement and the rest of the house is a shaker style so I wanted the stand to blend in with that design.


I contacted the guy who built our house, Steve Werner, and got him on board to build the stand. He is a great guy and a very talented carpenter. A few weeks after I placed the call he swung by to drop off the materials. The wood he was going to use for the trim and exterior panels was poplar, a type of wood most commonly used to make furniture. There was also plywood for the bottom, top and side frames of the stand.
Time to Paint
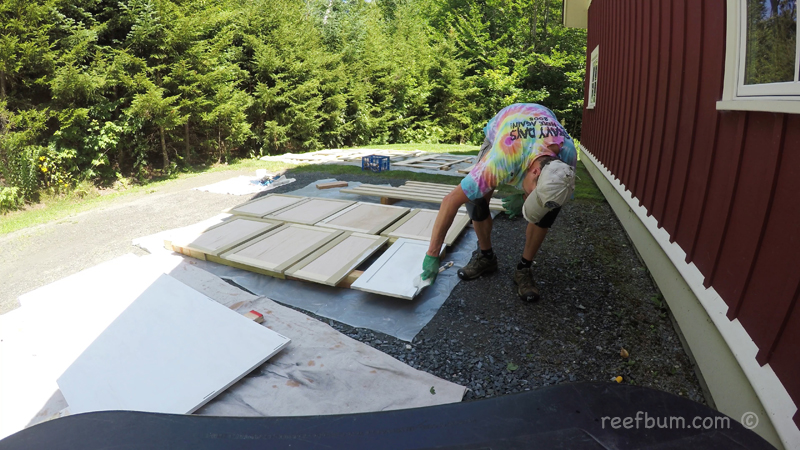
After the wood arrived I sprung into action and applied one coat of primer and two coats of finish paint to every piece.
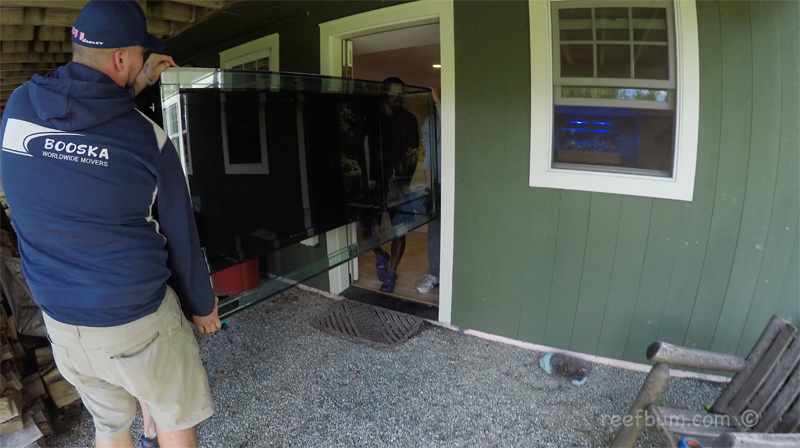
A couple of weeks later Steve came back to put together the stand. It would have to be assembled in our basement since it would be too wide to fit through the door. Panels were installed on three sides of the stand and on one side the panels opened up as doors to give me access underneath. Some additional vertical supports were added to re-enforce the stand.

Most of the equipment will be kept in the remote sump room but the controllers and power bricks for the re-circulating pumps as well as the light ballasts will be underneath the stand.
The Final Steps
Once Steve was done assembling the stand I broke out my paint brush again to apply the finish coat. At this point there is no trim at the top of the stand. The plan was to wait for the tank to be placed on the stand and then have Steve come back to put on the trim. I didn’t want to risk having the tank movers knock off the trim during the move.
Overall, I was quite pleased with the outcome. The stand blended it quite nicely with the style of the room and the other tank stand.
Additional Resources
If you would like some help with a new tank build, including help designing a custom aquarium, or help re-configuring your current setup then you can visit this page for more information. And if you are looking to add some equipment, I do sell GHL, Pax Bellum, Reef Octopus Calcium and Kalk Reactors and Royal Exclusiv products, including Dreamboxes, which is the equipment I use and recommend. I also sell Reef Brite metal halide and LED fixtures as well as Maxspect & IceCap Gyres.
As for additional insights and information, please explore my many other reef tank and SPS related articles as well as my YouTube channel. For an even deeper dive into reef tank care you can check out my Reef Keeping Master Class. This online course is an immersive and one of a kind educational tool designed to help reef aquarium hobbyists build and maintain a beautiful SPS reef tank. The course is a series of video presentations with some supplemental video from my YouTube channel. There are also quizzes to help students retain and understand the information presented in the course.
Need some frags…..I can help with that as well 🙂 Please visit my SPS Frag store to see what is available.