This is Part #3 in a series of blog posts about my 225 gallon peninsula tank build.
There is always a lot of tension building up inside me leading up to the day a large tank is moved into my house. Multiple parties are typically involved and it can be nerve racking to coordinate the move.
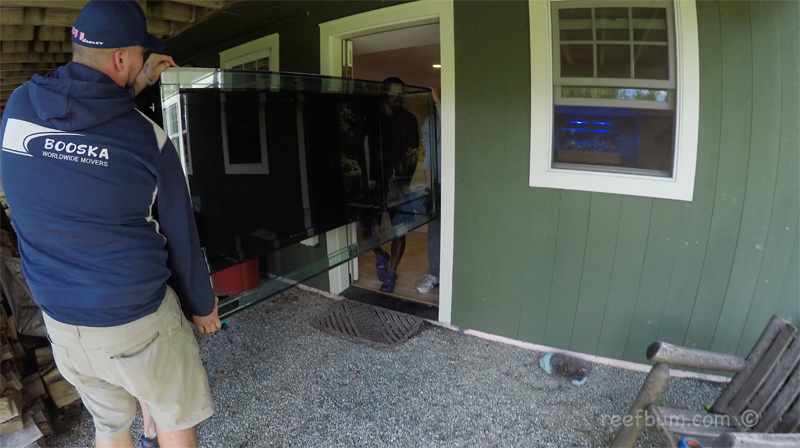
And for my latest tank, a custom 225 gallon peninsula tank, I had a heck of time finding some movers to move the tank from my driveway into the house. I did find a crew but it was going to cost me $1,100 for the move. Oh well, my options were very limited here in Vermont so I didn’t have much of a choice.
Move in Day
Fortunately, it was sunny and 60 degrees for the day of the tank move. Rain would have complicated matters since it could have made things slick on the grassy hill down to the basement.
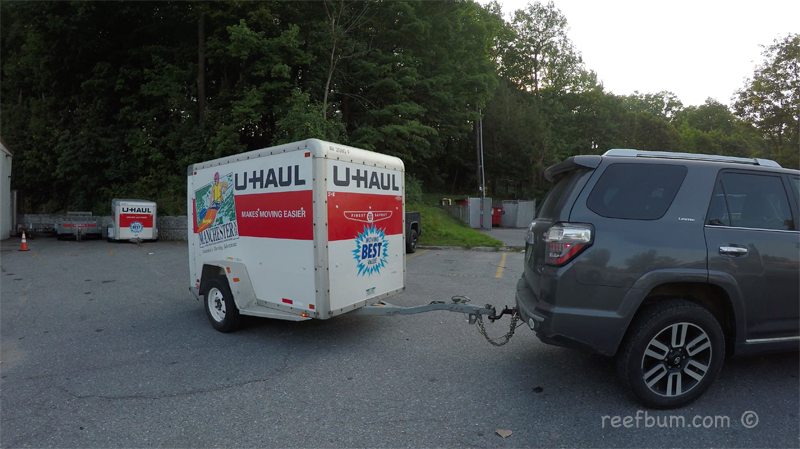
Before the movers arrived I placed several pairs of 4x4s with Styrofoam on top along the path to the basement. The intent was to have several spots to rest the tank. The first spot was right next to the trailer and it would allow me to closely inspect the tank after it was offloaded. It was a bumpy ride home with the tank so, yeah, I would be holding my breath during this examination.
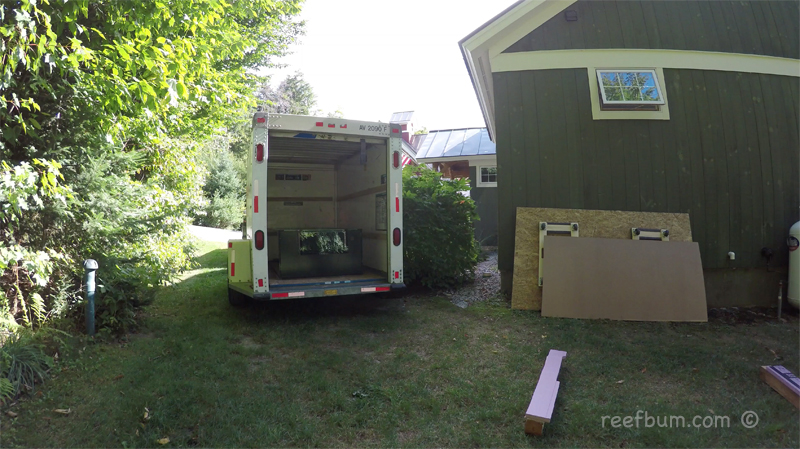
A second area was setup right before the hill just in case the movers needed to take a time out. Two other rest stops were waiting on the bottom of the hill just outside the basement door.
One was there to rest the tank on its bottom while the second one would allow the movers to roll the tank on its side. This would be necessary since the tank was too wide to get through the door.
More Rest Stops
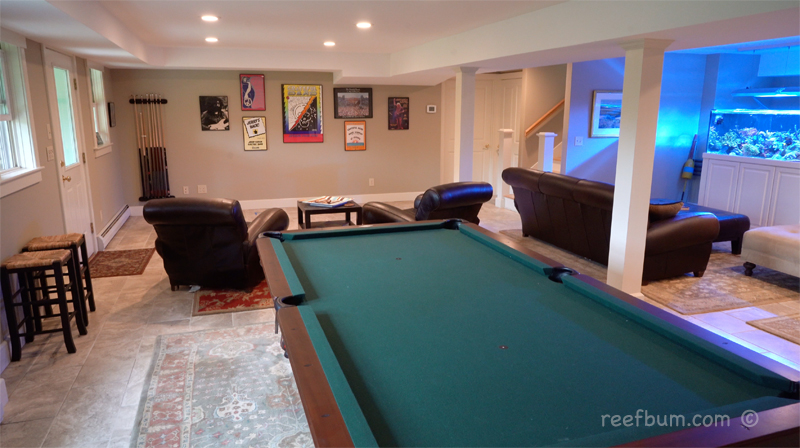
Two more sets of 4×4’s with Styrofoam were waiting inside the basement near the tank stand. The first set served as a place to rest the tank on its side after it made it through the door while the second set would give the crew a place to rest the tank after it was turned right side up. This was the final staging area before the tank was placed on the stand.
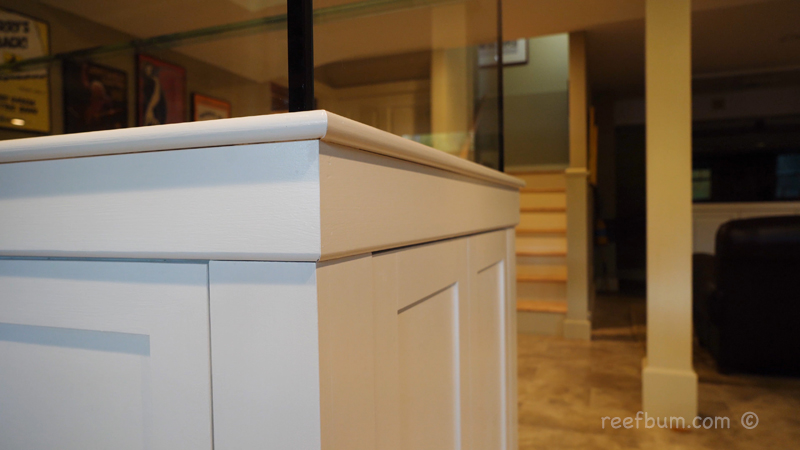
To my relief everything went according to plan. The tank looked fine after it was removed from the trailer….whew….and the movers executed their job flawlessly. We all rejoiced once the tank was sitting on the stand. I guess they had some anxiety as well.
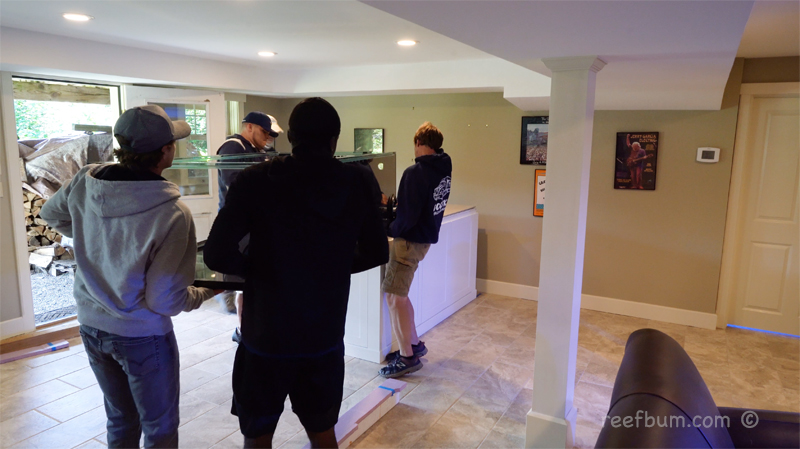
What’s the cure to relieve some of this anxiety? Be organized and plan everything out. You can’t anticipate all potential hurdles but ifyou are prepared then the chances of something going wrong are minimized.
Additional Resources
If you would like some help with a new tank build, including help designing a custom aquarium, or help re-configuring your current setup then you can visit this page for more information. And if you are looking to add some equipment, I do sell GHL, Pax Bellum, Reef Octopus Calcium and Kalk Reactors and Royal Exclusiv products, including Dreamboxes, which is the equipment I use and recommend. I also sell Reef Brite metal halide and LED fixtures as well as Maxspect & IceCap Gyres.
As for additional insights and information, please explore my many other reef tank and SPS related articles as well as my YouTube channel. For an even deeper dive into reef tank care you can check out my Reef Keeping Master Class. This online course is an immersive and one of a kind educational tool designed to help reef aquarium hobbyists build and maintain a beautiful SPS reef tank. The course is a series of video presentations with some supplemental video from my YouTube channel. There are also quizzes to help students retain and understand the information presented in the course.
Need some frags…..I can help with that as well 🙂 Please visit my SPS Frag store to see what is available.

