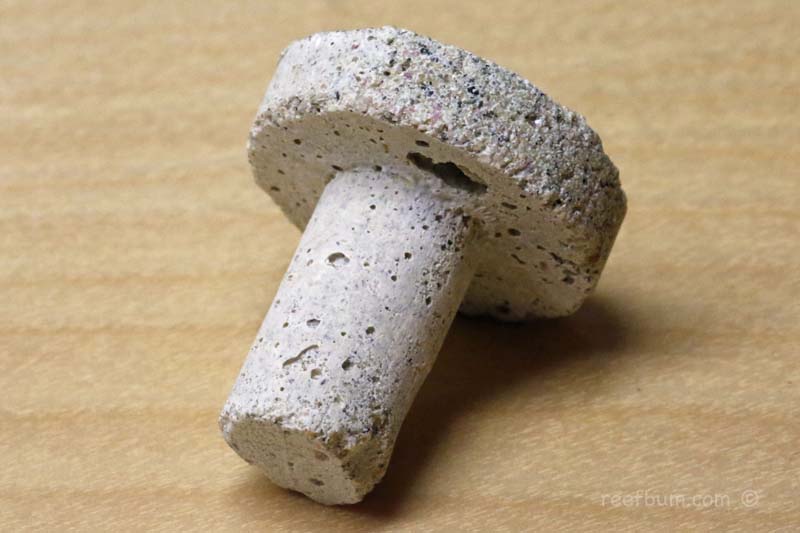
Me. Yes, frag plugs serve a great purpose when shipping or displaying frags for potential customers but they look like crap when placed in a display tank. I know, over time a healthy frag will encrust and cover that plug but who wants to stare at that eyesore for months on end.
My solution has been to glue frags to reef rock rubble and then attach the rubble to main reef rock. The process begins by cutting the frags off of the plugs and then dipping them to prevent any pests from entering the tank. It is important to snip the frag above any part of the frag that has encrusted onto the plug since AEFW eggs are laid at the base of corals and can survive a preventative dip.
Utilizing Zip Ties
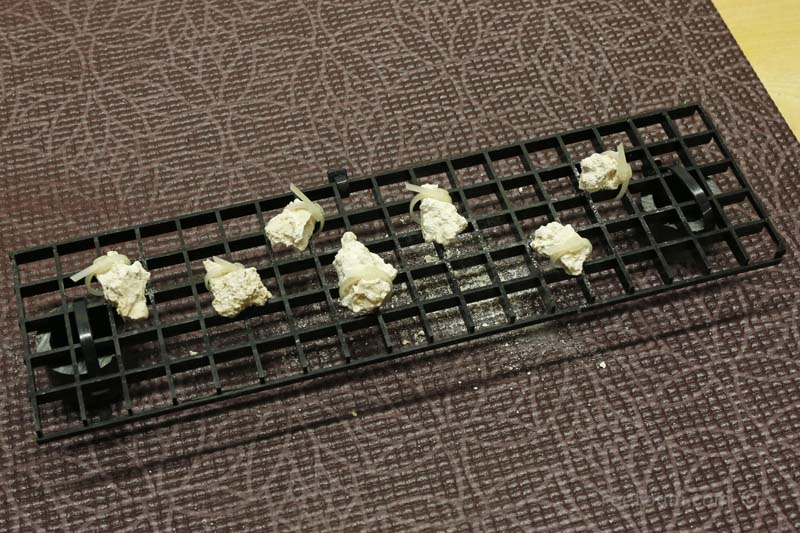
Before the dip, I will mount small pieces of reef rock or rubble with zip ties to some egg crate and then super glue the frags to the rubble after the dip. I do all of this in a plastic container and let the frags sit for 30 minutes or so to make sure the glue has hardened. Once that is done I take the egg crate and place it in the display tank.
The next step is to acclimate the new frags to the tank\’s lighting. Typically, frags moving from one tank to another will be under some sort of stress and in the dark for a while during transit so it is wise to allow them to adjust to the new lighting conditions. An adjustment period also provides a buffer when lighting conditions are different between the new and old tank, not an uncommon occurrence.
For the first couple of days I leave the egg crate at the bottom of the tank and then move it up about six inches, leaving them there for another two to three days. I don’t move them any higher if I have frags that prefer low light. Frags that prefer more intense lighting will be moved up during the next step when frags are permanently mounted.
Steps After Acclimation
Once the acclimation process is over I pull the egg crate out of the display and put it back into the plastic container and carefully snip off the zip ties. I permanently mount the frags by sticking two part epoxy to the bottom of the reef rubble and then attach the rubble to the main base rock. Why not use the epoxy to directly attach frags to base rock? Well, when you mix the epoxy together it does emit heat, something that could be harmful to a frag.
Anyway, you can check out the video below for a video demonstration of the process. Once placed, the next trick is to leave the frags alone and let mother nature do her thing. She has a pretty good track record so avoid re-adjusting the frags and keep those hands out of the tank!
Additional Resources
If you would like some help with a new tank build, including help designing a custom aquarium, or help re-configuring your current setup then you can visit this page for more information. And if you are looking to add some equipment, I do sell GHL, Pax Bellum, Reef Octopus Calcium and Kalk Reactors and Royal Exclusiv products, including Dreamboxes, which is the equipment I use and recommend. I also sell Reef Brite metal halide and LED fixtures as well as Maxspect & IceCap Gyres.
As for additional insights and information, please explore my many other reef tank and SPS related articles as well as my YouTube channel. For an even deeper dive into reef tank care you can check out my Reef Keeping Master Class. This online course is an immersive and one of a kind educational tool designed to help reef aquarium hobbyists build and maintain a beautiful SPS reef tank. The course is a series of video presentations with some supplemental video from my YouTube channel. There are also quizzes to help students retain and understand the information presented in the course.
Need some frags…..I can help with that as well 🙂 Please visit my SPS Frag store to see what is available.

