Live rock is a great way to quickly bring a new reef tank online since it typically comes teaming with life, including beneficial nitrifying bacteria. This type of bacteria is vital and provides natural biological filtration, helping to break down organic waste from critters such as fish.
The key to a very quick cycle with live rock is to minimize the time it is out of water since any dead or dying matter on live rock can release ammonia during the decaying process, which is very toxic to fish, corals and other organisms. So a good population of beneficial bacteria are needed to help neutralize and eliminate the ammonia. One species of beneficial bacteria break the ammonia down into nitrite while another species converts the nitrite into nitrate, completing the nitrogen cycle.
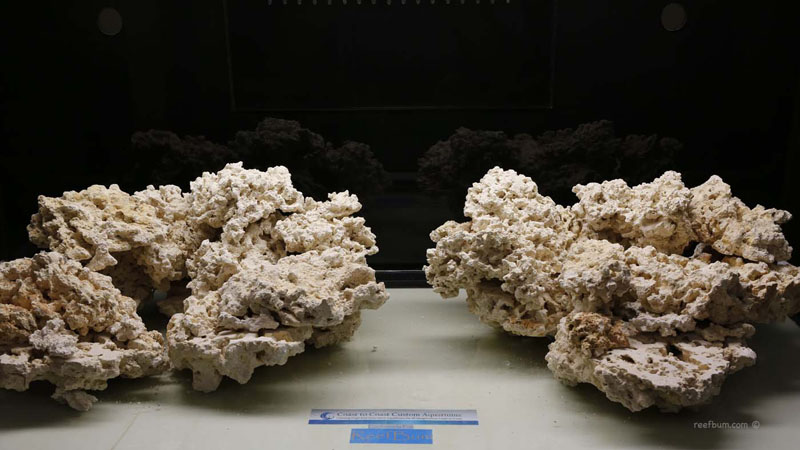
Live rock comes both cured and uncured. Cured contains a good population of nitrifying bacteria while uncured has a lot of dead matter on it and needs additional time to be cycled and seeded with nitrifying bacteria.
Cured or Uncured Live Rock?
Most reefers will choose cured live rock since it provides an easy way to start a tank and is essentially odorless versus uncured rock. Of course if you or your loved ones don’t mind the smell of rotten eggs or low tide then go with uncured rock. I am not that brave, as I am sure my wife would have me sleep on the couch if I tried to pull that one off
Ok, speaking of myself, when I decided to reboot my tank I planned to go with cured rock to get back up and running as soon as possible. Unfortunately, live rock is hard to come by in my home state of Vermont so I had to devise a cost effective way to have it shipped or transported to my home. Remember, the longer rock is out of the water the more die off will occur. Overnight delivery is cost prohibitive so typically suppliers or online retailers will ship live rock via two day air or three day ground.
On the Hunt for Haitian Live Rock
These options were not appealing to me since I was concerned about die off so I investigated other options. I was planning to be on vacation in Florida so I started to do an internet search for live rock suppliers in that state. I had heard some great things about Haitian live rock so I focused on finding a store with an amply supply. Fortunately, I found one near the airport I was using for my return flight home so I touched base with the airline to see if I could check the rocks underneath the plane.
The person I spoke with said it was ok and the price quote I was given to transport the 120 lbs or so of rock I wanted to bring aboard seemed reasonable. But the best part of this plan was the short amount of time the rocks would be in transit and out of water……only 12 hours!
Live Rock Motherlode!
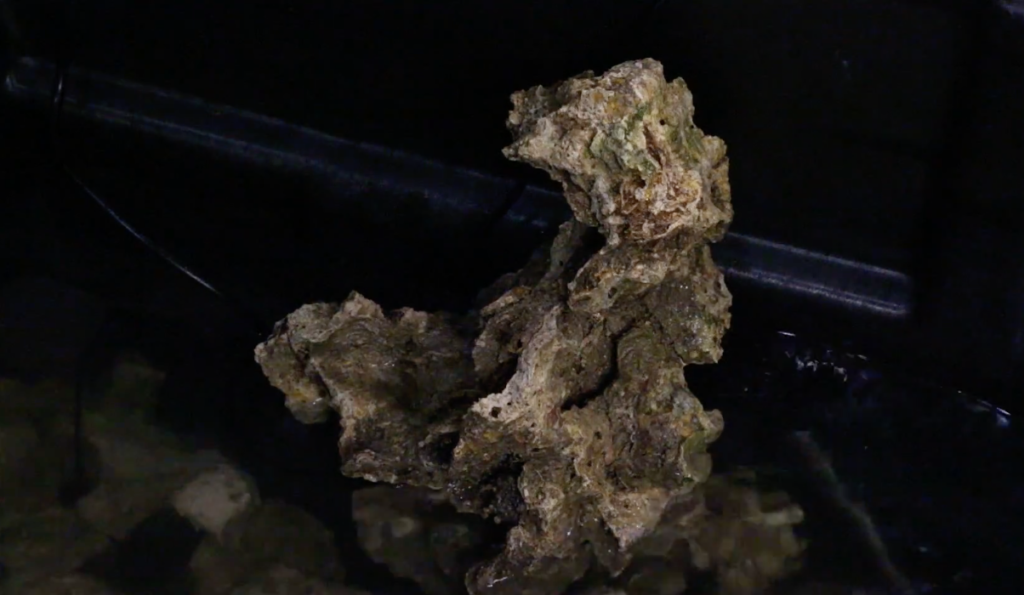
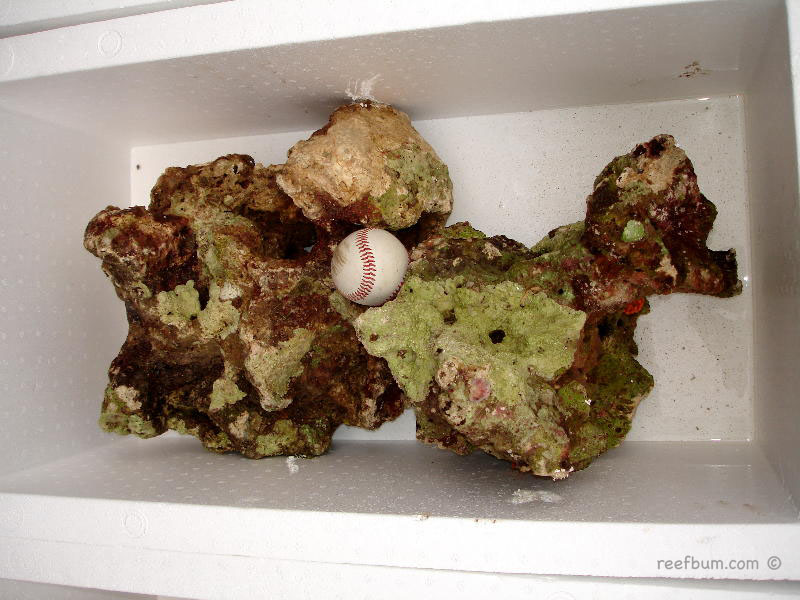
When I arrived at the store holding the rock I was amazed to see a bin full of some incredible pieces. Yes, I hit the mother lode! I cherry picked 127 lbs of rock and the guys at the store packed them into four different boxes (the price per box would go way up if the weight exceeded 50 lbs).
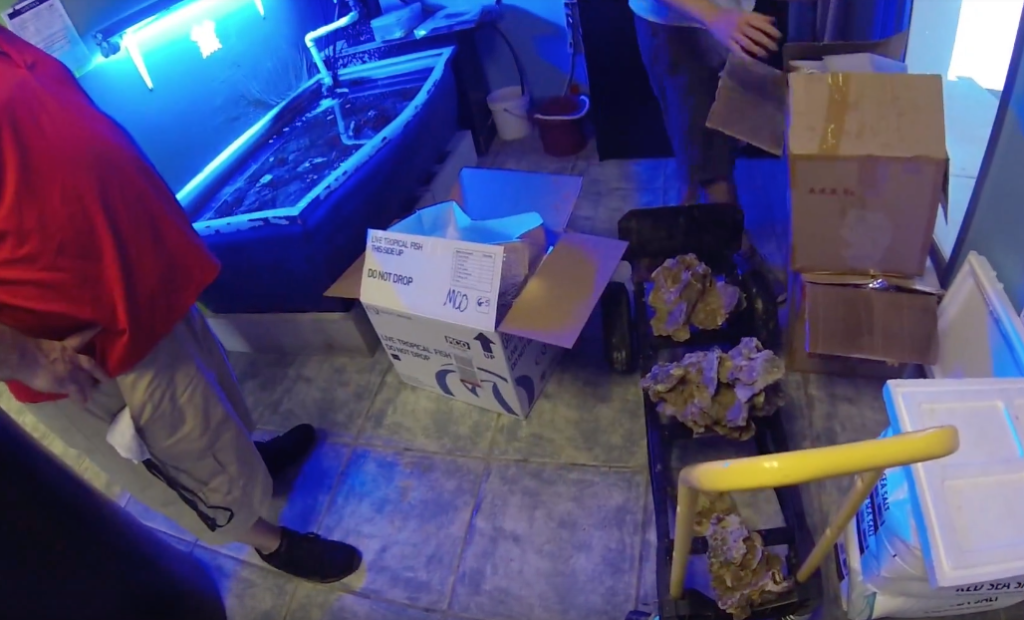
I left the store and arrived at the airport and quickly found a sky cap to help me check in the boxes. The price was $410! Oh boy. I had obviously misunderstood the pricing guidelines given to me over the phone, a big bummer to say the least.
What to do now? I was actually prepared to pay that amount since I was not going to abandon the rock at the airport. Fortunately, the sky cap guy was very helpful (hey, they work for tips) and advised me that it would be cheaper to put the rocks into 2 larger boxes they had lying off to the side. Using two boxes versus four cut the price down to $260, an easier amount to swallow.
The two larger boxes did look a little flimsy but I taped them up really good with some Gorilla Duck tape. I was taking two planes to get home and I did worry a bit about the boxes getting roughed up in transit but at that point I had to take my chances.
Luckily both flights were on time and I when arrived at the airport in Vermont I promptly headed over to the baggage claim area. Bags started to appear and I crossed my fingers tightly hoping I would soon be able to claim my boxes. No such luck. I asked an attendant about the missing boxes and they told me to ask the folks at the airline counter. To my relief, the guy at the counter said the boxes made the flight but he warned me they were in rough shape. Hmmm.
A Rough Trip
A few minutes later he wheeled them out and I was shocked to see the boxes ripped up pretty good. In fact, the top was missing on one box, exposing the rock inside. I did a quick inspection and found a TSA note inside. Nice, they inspected the contents but didn’t feel compelled to re-seal the boxes 
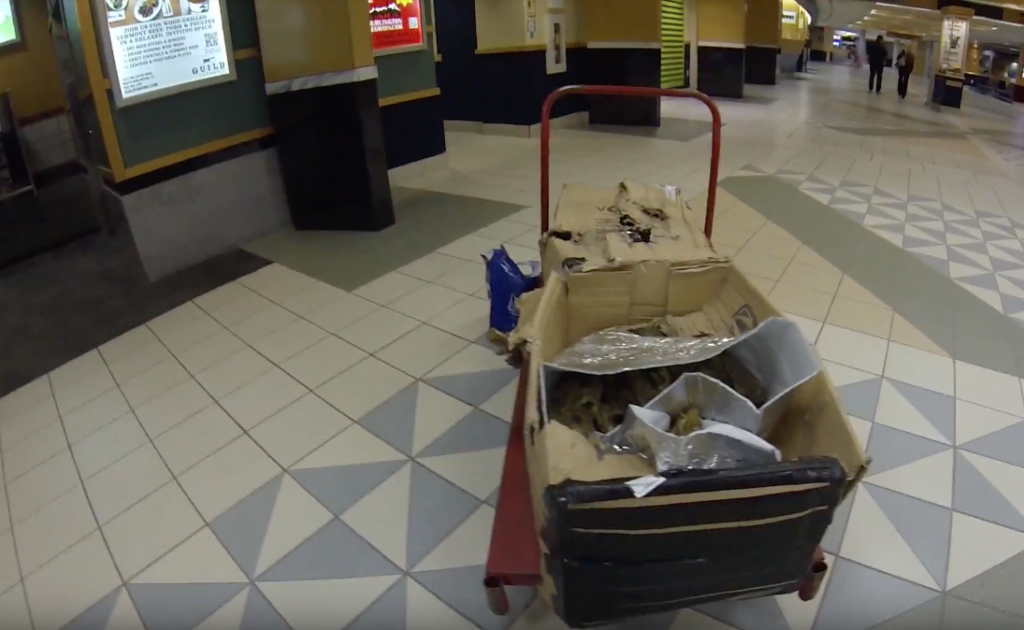
With my epic journey behind me, I was excited to get the rocks back into water. Before I left I had prepared about 50 gallons of salt water in a 100 gallon Rubbermaid tub. The water was heated so when I arrived home I place the rocks in the tub and turned on some power heads to circulate the water.
I assumed I had some die off from the trip (the rocks were actually out of water for 13 hours) so I wanted to keep the rocks in the tub for a week or two to make sure no ammonia was present. In essence, I was anticipating a mini-cycle so I mapped out a plan to make sure the rock was fully cycled and ready for my tank.
My Steps to Prepare Live Rock for Display
- I did a 50% water change the day after my rocks were placed in the tub. This was done to remove as much dead matter as possible.
- A couple of days later I added approximately 20 gallons of new salt water to the tub.
- Live nitrifying bacteria from a bottle was then added to the tub. Nitrifying bacteria typically grow very slowly so adding a booster product ups the concentration dramatically and speeds up the process.
- Held off on any water changes for 4 days after additional bacteria were added.
- Added a pinch of dry food to the tub on a daily basis to give the bacteria a source of energy.
- Did a 20% water change a week after the rocks were placed in the tub.
- Did another 20% water change a few days later.
Throughout this process I tested for ammonia, nitrite and nitrate. After a couple of days there was no ammonia and just a trace of nitrite. Nitrates were over 100 ppm but dropped to the 25-50 ppm range after a week while nitrites dropped to 0. The multiple water changes were done to lower nitrates, which should ideally be around 25 ppm.
After two weeks everything was ready to go into my display so I added the rock, the water in the tub and some additional salt water I had prepared. Levels were tested again to make sure everything was cycled and a couple of days later I added some fish. And so it begins. Let there be life!
Additional Resources
If you would like some help with a new tank build, including help designing a custom aquarium, or help re-configuring your current setup then you can visit this page for more information. And if you are looking to add some equipment, I do sell GHL, Pax Bellum, Reef Octopus Calcium and Kalk Reactors and Royal Exclusiv products, including Dreamboxes, which is the equipment I use and recommend. I also sell Reef Brite metal halide and LED fixtures as well as Maxspect & IceCap Gyres.
As for additional insights and information, please explore my many other reef tank and SPS related articles as well as my YouTube channel. For an even deeper dive into reef tank care you can check out my Reef Keeping Master Class. This online course is an immersive and one of a kind educational tool designed to help reef aquarium hobbyists build and maintain a beautiful SPS reef tank. The course is a series of video presentations with some supplemental video from my YouTube channel. There are also quizzes to help students retain and understand the information presented in the course.
Need some frags…..I can help with that as well 

