This is Part #7 in a series of blog posts about my 225 gallon peninsula tank build.
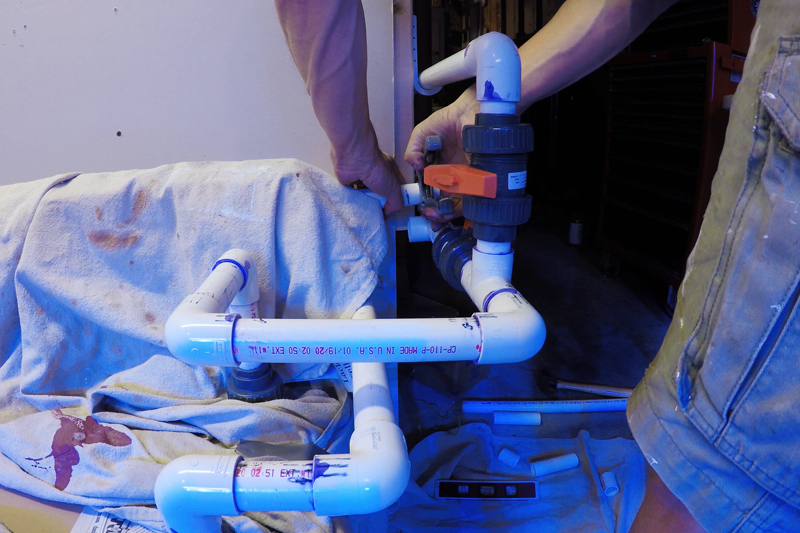
When I setup plumbing for a reef tank I have two things in mind. Make if fail safe over the long haul and design something to make tank maintenance easier. Hard plumbing a tank to the sump with PVC will minimize the chances of leaks versus flexible tubing and provide a long-lasting infrastructure for filtration. But the work can be challenging and require many hours of labor.
Calling All DIYers
If you like DIY projects, consider yourself handy or built model airplanes as a kid then this type of work is right up your alley. Stay away if your only tool is one of those flat head and Phillips reversible screwdrivers that sits in a kitchen drawer. You know who you are 🙂
I am a DIYer but I will admit there is a learning curve when it comes to working with PVC. I essentially taught myself by relying on logic and learning from my mistakes. Oh, and there were many mistakes. Yes, I ruined a lot of PVC fittings.
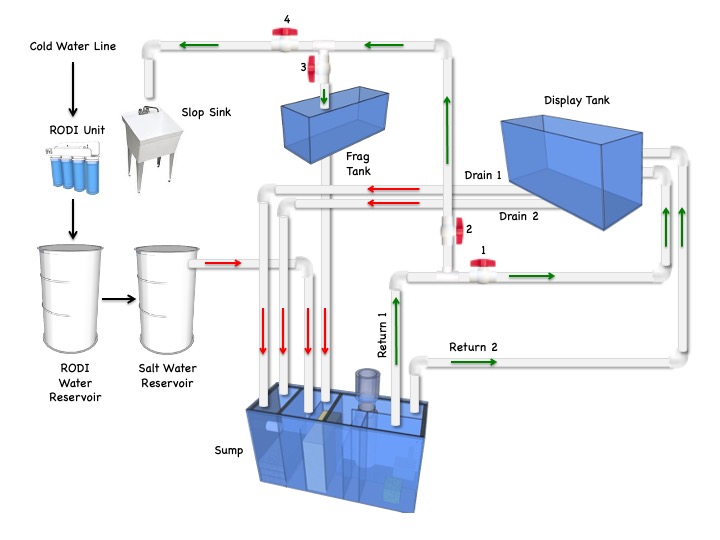
I have hard plumbed three different tanks and each time I followed a similar design. For my old 225 gallon tank in Connecticut I created what I called a plumbing road map, a visual layout of the plumbing. It worked really well and I adopted it for my 187 gallon tank and the new peninsula tank.
Tank Plumbing Goals
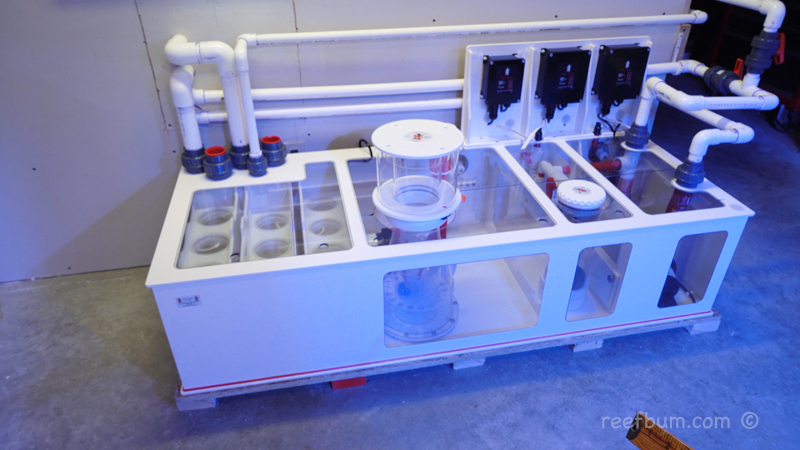
As was the case with my other tanks, the main goal for the peninsula tank was to plumb together my sump, display tank and frag tank in an efficient manner. I also wanted the ability to easily do large water changes, allowing for less burdensome maintenance.
This was not an easy plumbing job since the pipes snaked through three rooms. In the room with the display tank I used gray Schedule 80 PVC for aesthetic reasons. Most of the PVC would be exposed along a wall and I preferred gray versus white Schedule 40 PVC, which was used inside the furnace room and the adjacent sump room.
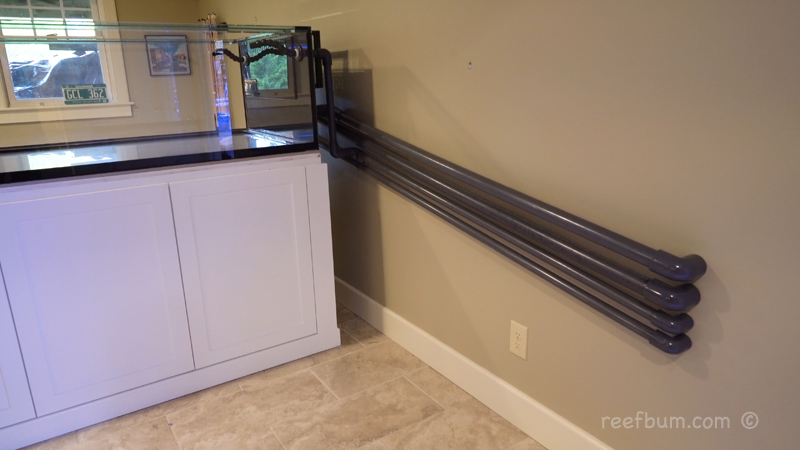
The pipe along the wall was unavoidable since I could not run plumbing directly behind the tank where the overflow box is located. Cinder blocks for the chimney were on the other side of the wall.
Going Through Walls
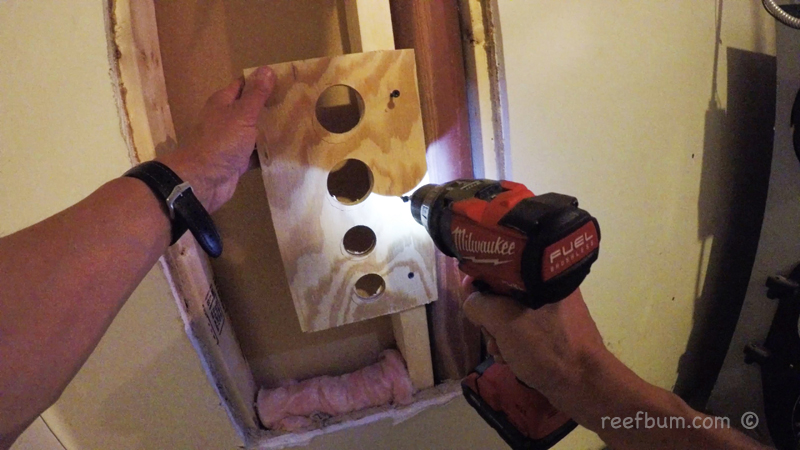
Holes would have to be cut in two different walls for four pipes, two for the drains and two for the returns. The holes had to be at a certain height to make sure gravity could carry water from the drains to the sump. Wooden brackets were fabricated and installed in the walls to make sure the pipes would be secure.
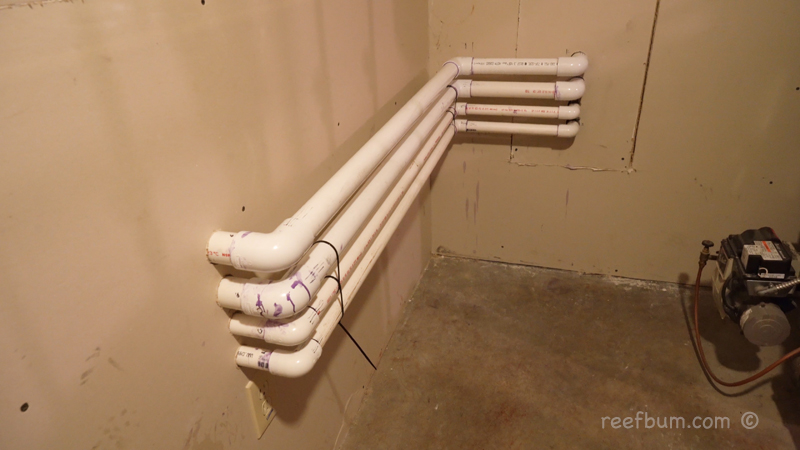
As for the workflow, I like to go from the tank to the sump so I started by plumbing all four pipes in the display tank room. I then moved on to the furnace room and made the final connections in the sump room.
PVC Tips
When working with PVC I like to use purple primer instead of clear primer. I know purple primer is sloppy but it will make it much easier to confirm a fitting has been glued. I have used clear primer in the past and had leaks because I thought certain fittings were glued when they were not. Here is another piece of advice…..measure multiple times before cutting any pipe.
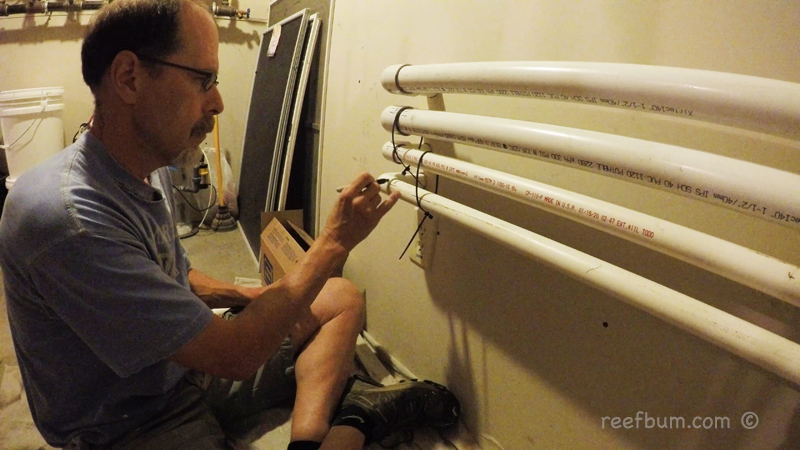
For the peninsula tank build I probably spent forty hours putting together the plumbing. Yep, that is a lot of time and I am sure a professional plumber could have done it much faster. But I got it done and now I have a long lasting plumbing setup that will make life easier.
Additional Resources
If you would like some help with a new tank build, including help designing a custom aquarium, or help re-configuring your current setup then you can visit this page for more information. And if you are looking to add some equipment, I do sell GHL, Pax Bellum, Reef Octopus Calcium and Kalk Reactors and Royal Exclusiv products, including Dreamboxes, which is the equipment I use and recommend. I also sell Reef Brite metal halide and LED fixtures as well as Maxspect & IceCap Gyres.
As for additional insights and information, please explore my many other reef tank and SPS related articles as well as my YouTube channel. For an even deeper dive into reef tank care you can check out my Reef Keeping Master Class. This online course is an immersive and one of a kind educational tool designed to help reef aquarium hobbyists build and maintain a beautiful SPS reef tank. The course is a series of video presentations with some supplemental video from my YouTube channel. There are also quizzes to help students retain and understand the information presented in the course.
Need some frags…..I can help with that as well 🙂 Please visit my SPS Frag store to see what is available.

